

LEGO® instructions have remained pretty much the same for a long time but they have also seen a few tweaks and can even be accessed digitally. One thing I’ve noticed lately is a lot of people asking what certain symbols mean in the instructions booklets. So here’s a brief guide to some of the symbols means from the LEGO instructions. Some of these symbols have been introduced in preparation for the switch to paper bags.
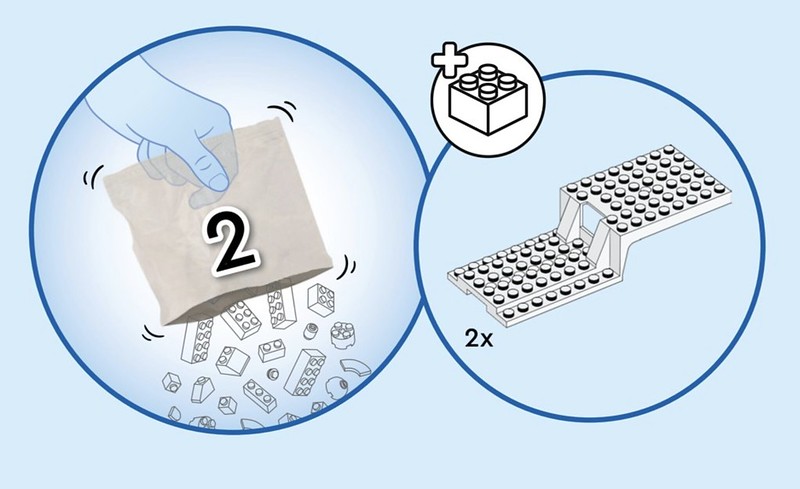
First up is a symbol commonly dotted about the instructions of many sets. The ‘+’ symbol is often displayed at the start of a bag’s build as well as during a build. This symbol is to highlight the need to use an element which is not found in the current bag. Often it’s related to loose elements included in separate unnumbered bags or loose in the box. When paper bags are fully used in sets, these sorts of elements will be packaged in paper bags featuring the ‘+’ similar to the one featured on Brickset.

This next symbol has changed a little in recent times but the meaning remains the same. This is a warning symbol to note that the set features projectile elements and should not be directly fired at someone.

This is another symbol which is commonly featured in sets. It’s meant to note that the section you are building needs to be rotated or flipped to add the next element.

This symbol is pretty self-explanatory and is solely related to the use of the light brick element. It reminds you to remove the tag which stops the battery from being active.

Another self-explanatory symbol represents the use of stickers in a set. This symbol notes you’ll need to find a sticker on the included sheet and add it to part of the build.

Finally, a small number of sets can be built by numerous people at the same time. This symbol shows how many people can build the set.


8th September 2023
Howdy. What do the parallel dashed green lines mean? Plse advise. THanx.
9th September 2023
Do you have a example, I can’t place seeing it in any recent instructions
1st November 2023
Thank you for the symbol guide. I’m deconstructing a big set for 7 yr. old grandson who ran into trouble and got frustrated. He’ll have a little more guidance next time!
21st December 2023
What does 3,2 in a circle mean in the instructions?
22nd December 2023
It’s hard to tell without seeing the image, what set is it from?
5th January 2024
It’s from the Gingerbread House 10267. Instruction book 2, page 112, steps 158 and 159.
6th January 2024
It’s the measurement gauge/size of the Technic pin. It matches with the 1 to 1 images at the bottom of the page
11th February 2024
hi what do the brick/ bricks listed at the very beginning of a build box mean? where it shows you a picture of the finished part of that box. there is a piece or pieces with an amount next to them
12th February 2024
Do you have an example? Let me know a set number where this appears in the instructions and I’ll take look